Tutorial: First steps - a visu in half a minute
This tutorial shows how to create a first (quite simple, though) visualisation within half a minute.
Video
Single steps
The actions shown in the video are repeated here step by step. As an example the visu will contain a heating control for the living room that is defined by:
Value |
GA |
Datatype |
|---|---|---|
Current |
4/0/30 |
DPT:9.001 |
Target |
3/3/30 |
DPT:9.001 |
Important
It is highly unlikely that your own smart home installation will use the same addresses as this tutorial. Please check and change the addresses accordingly when you are repeating this tutorial for your self!
First visu - in less than half a minute
At the manager “Editieren” of the default config has to be chosen:

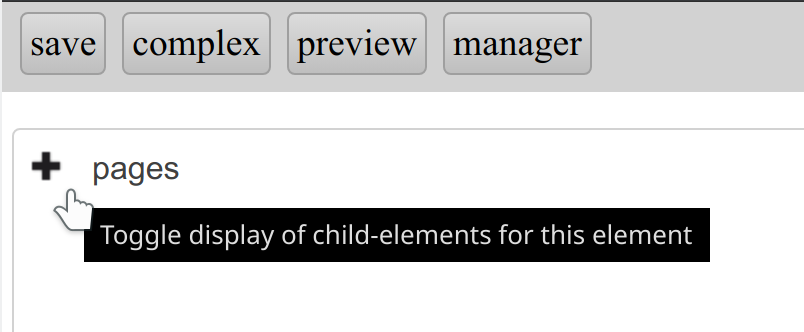
Left click on the “+” in front of pages shows the child elements:
A right click at page "Start"…
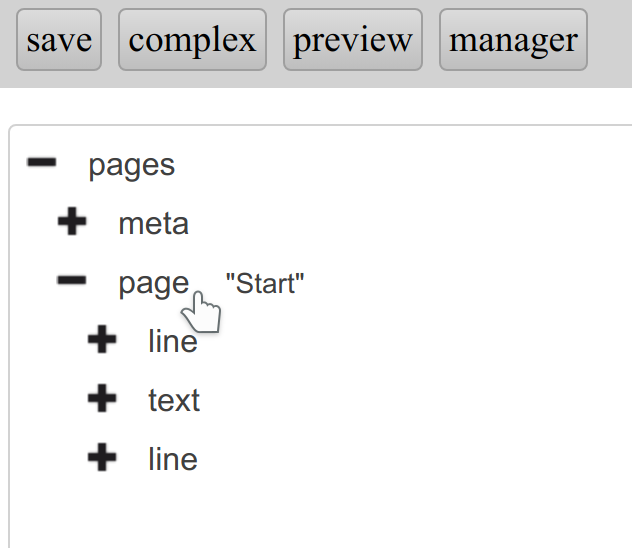
… shows the context menu there:
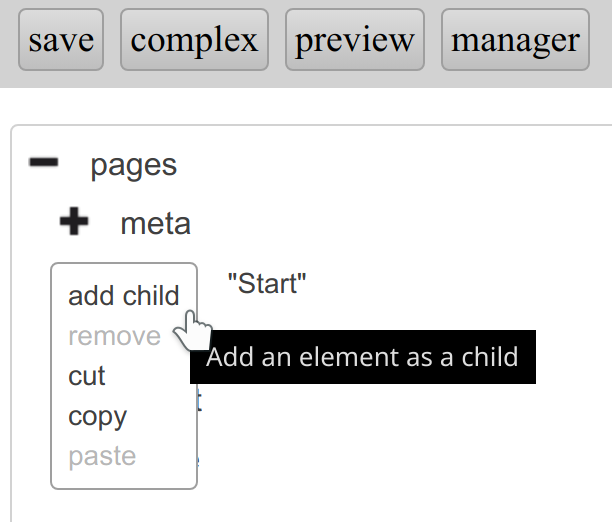
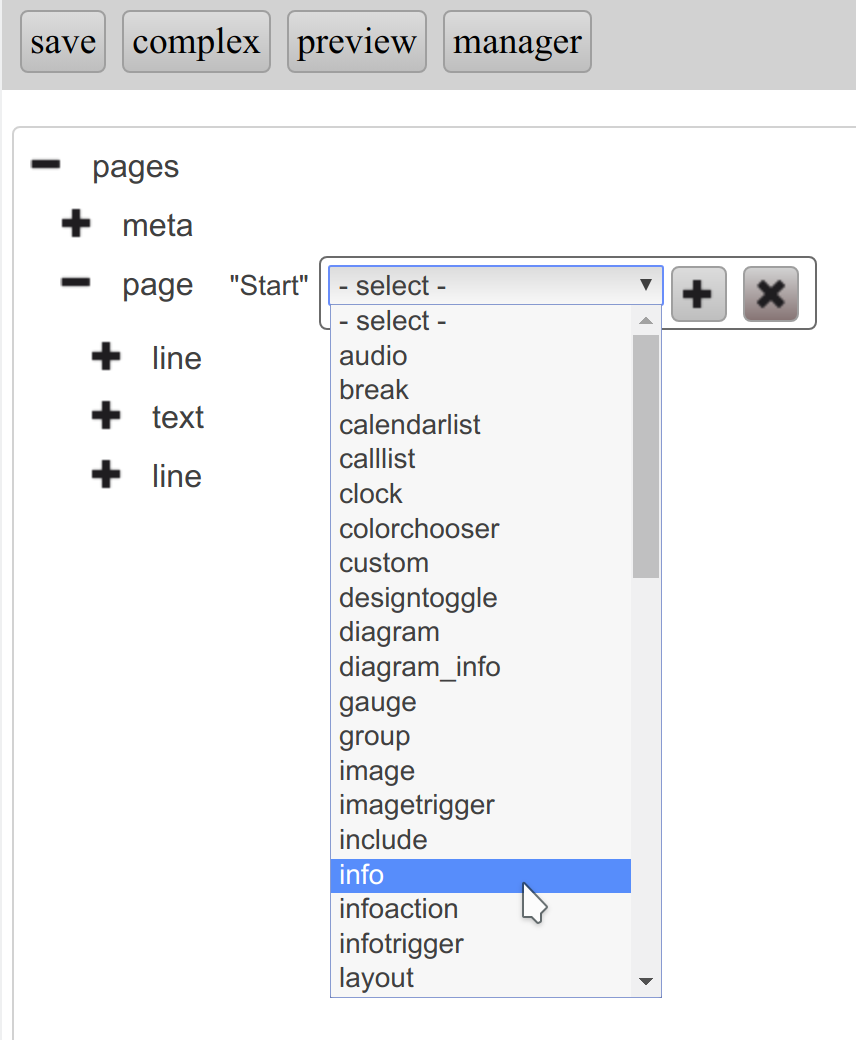
A left click on add child shows the menu to insert a child element.
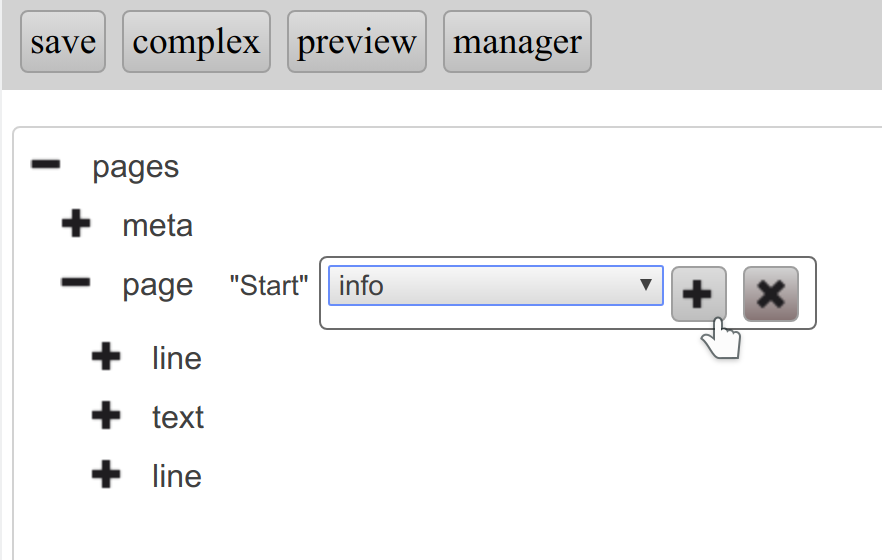
Select in this menu the info widget…
… and add the info widget by “+” as child element to the page “Start”:
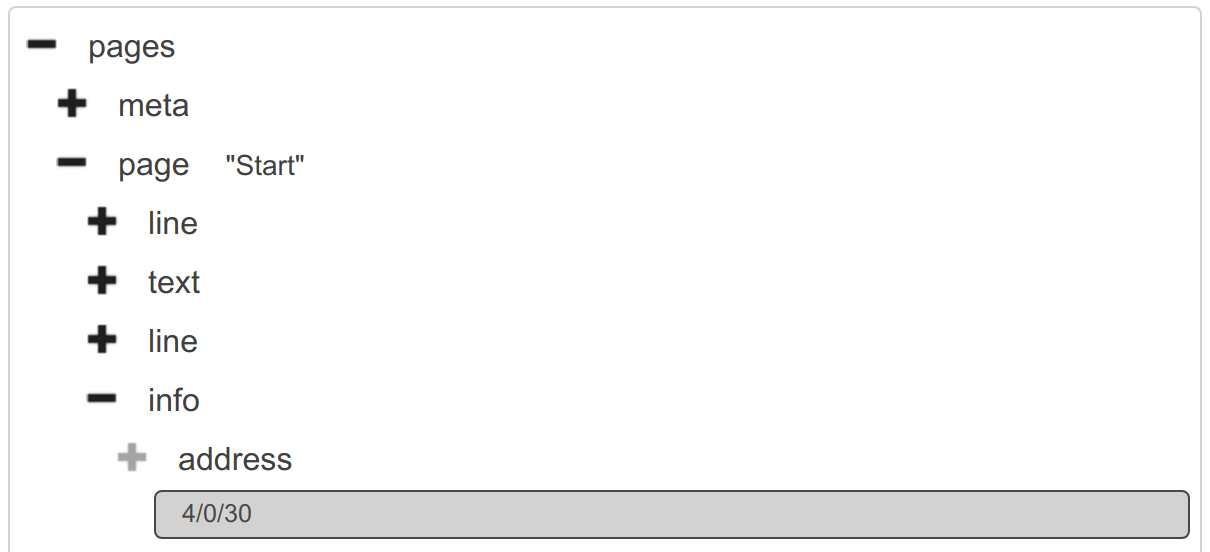
Left click on the “+” in front of info…
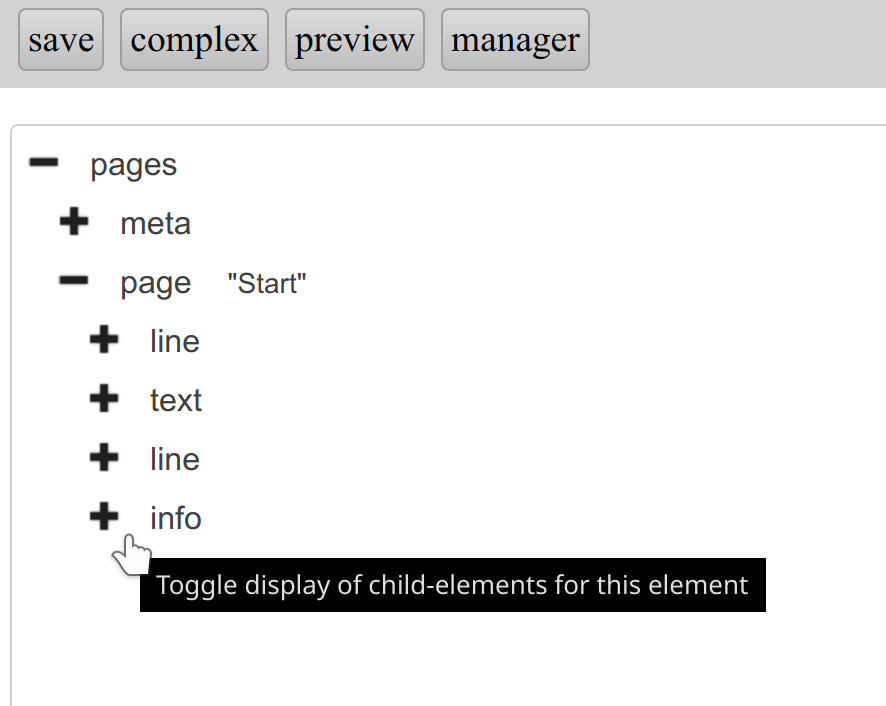
… to show the pre-created address-element:
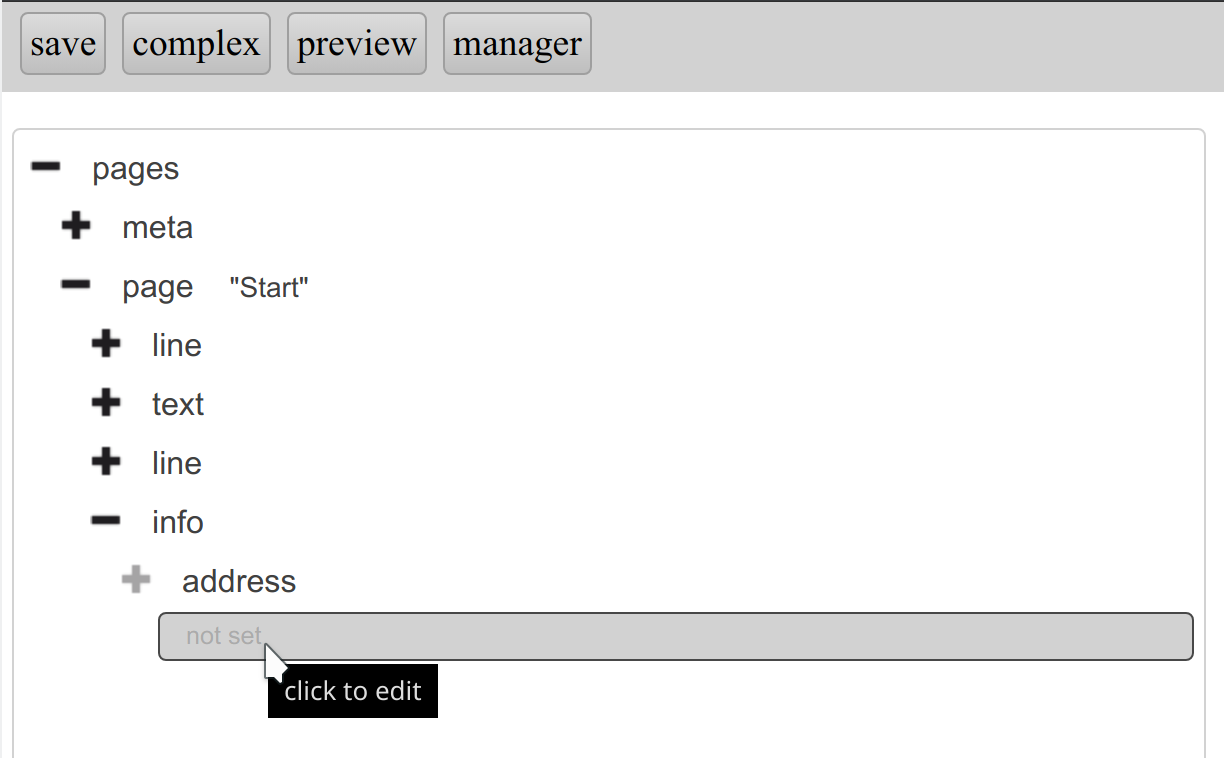
Insert the address (GA) for the current temperature (4/0/30)…
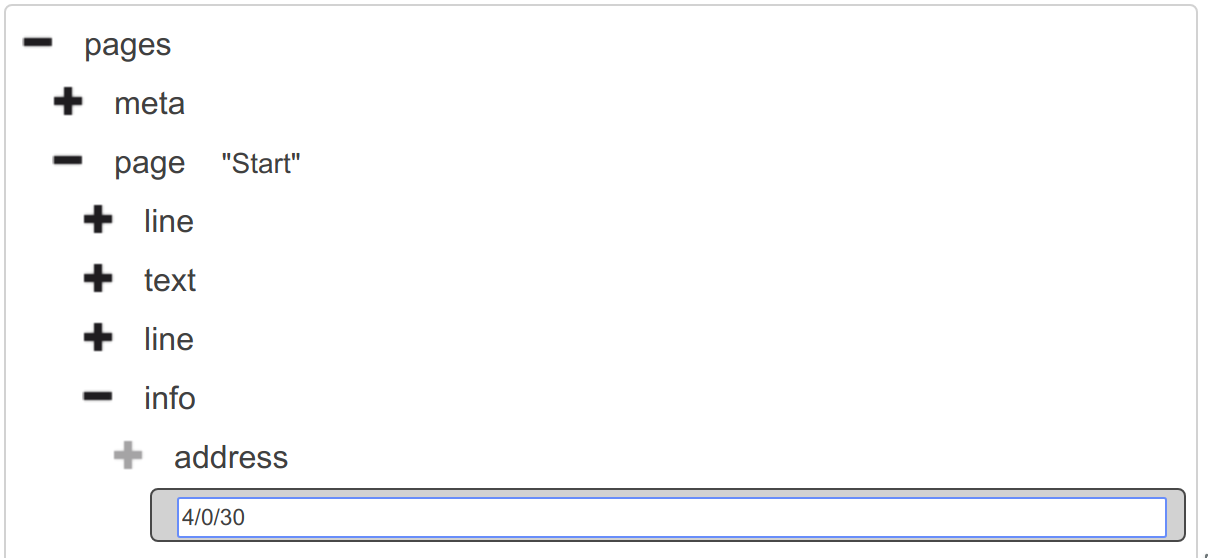
… and confirm with enter:
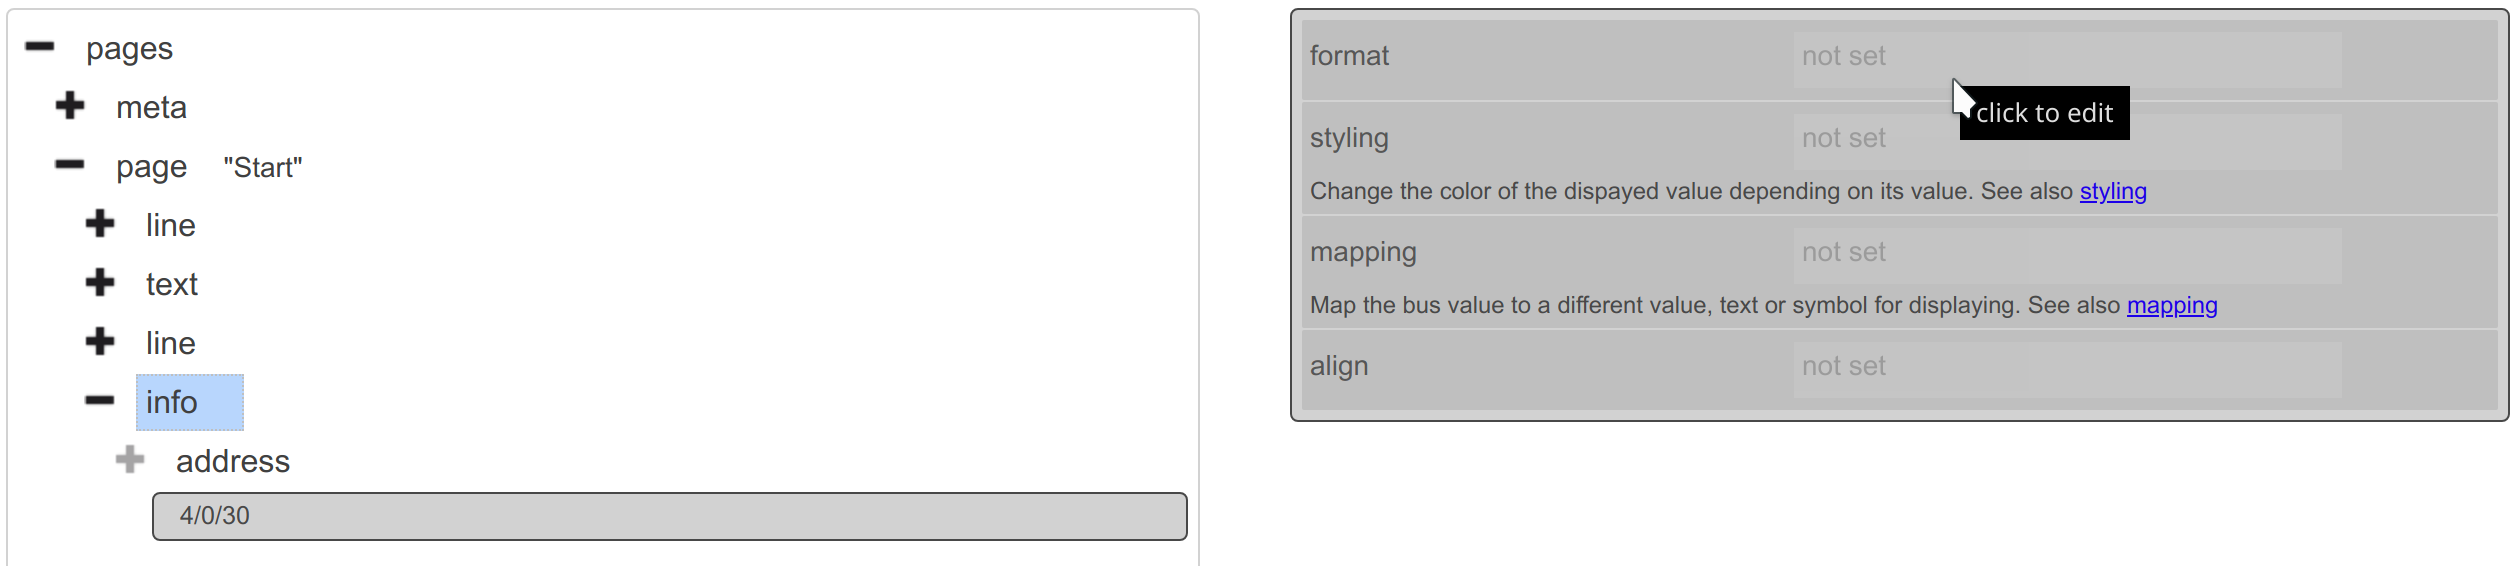
By left clicking on address…
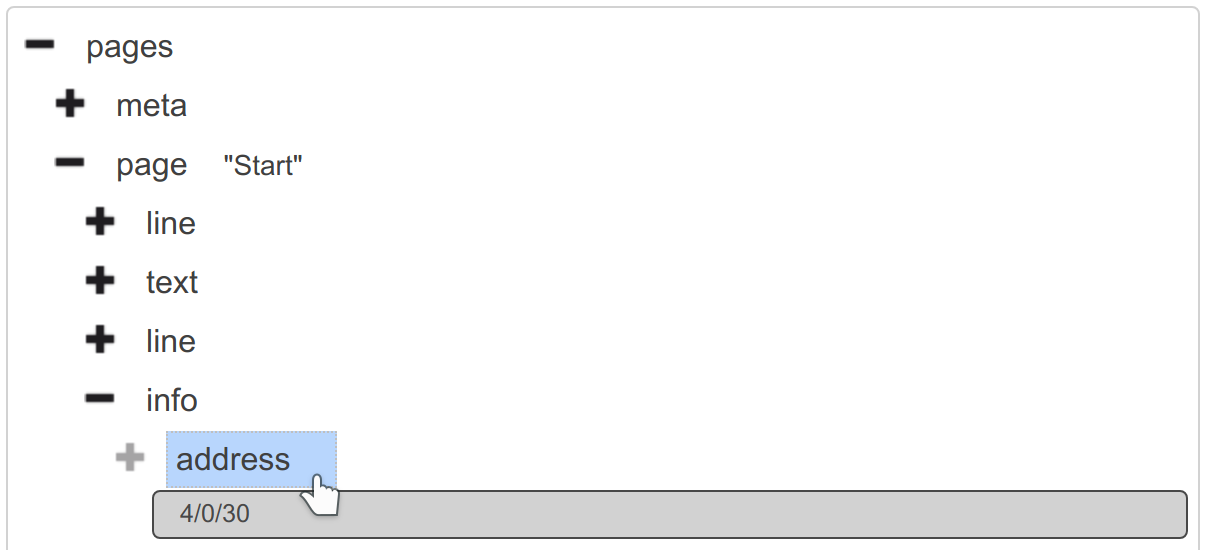
… the attribute menu for the address element will appear on the right
of the element tree:
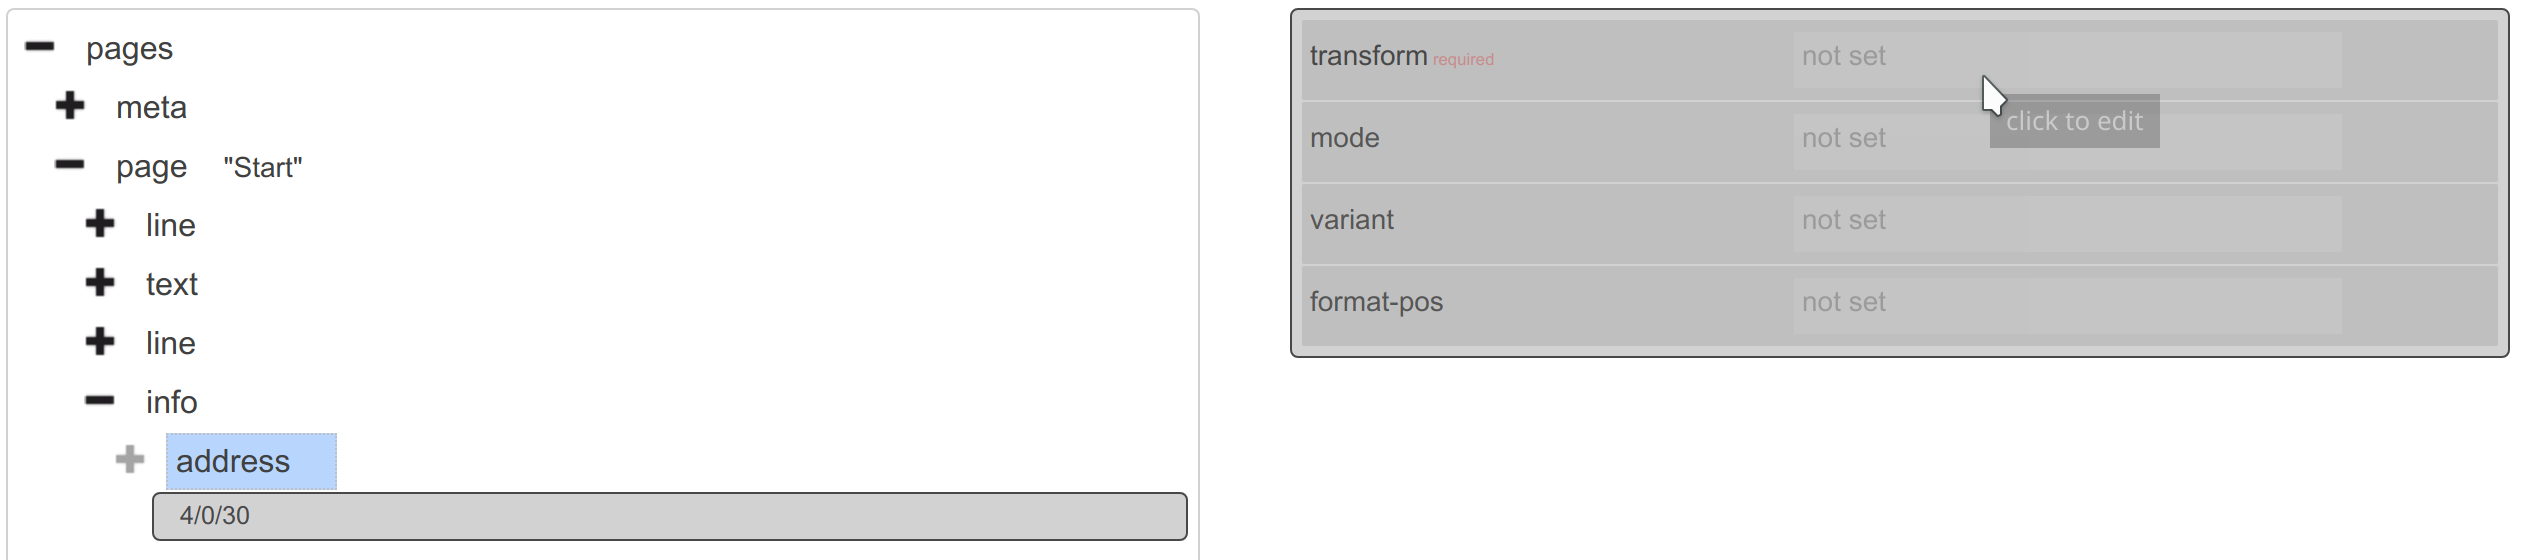
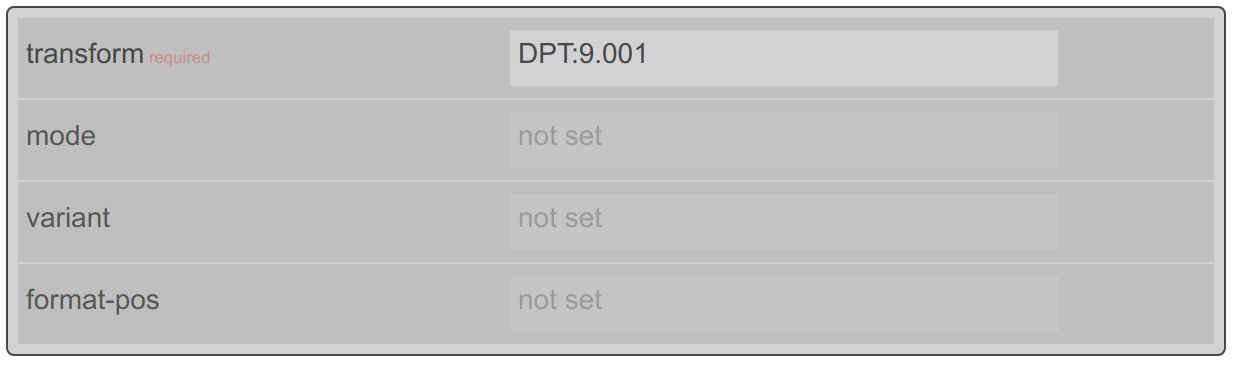
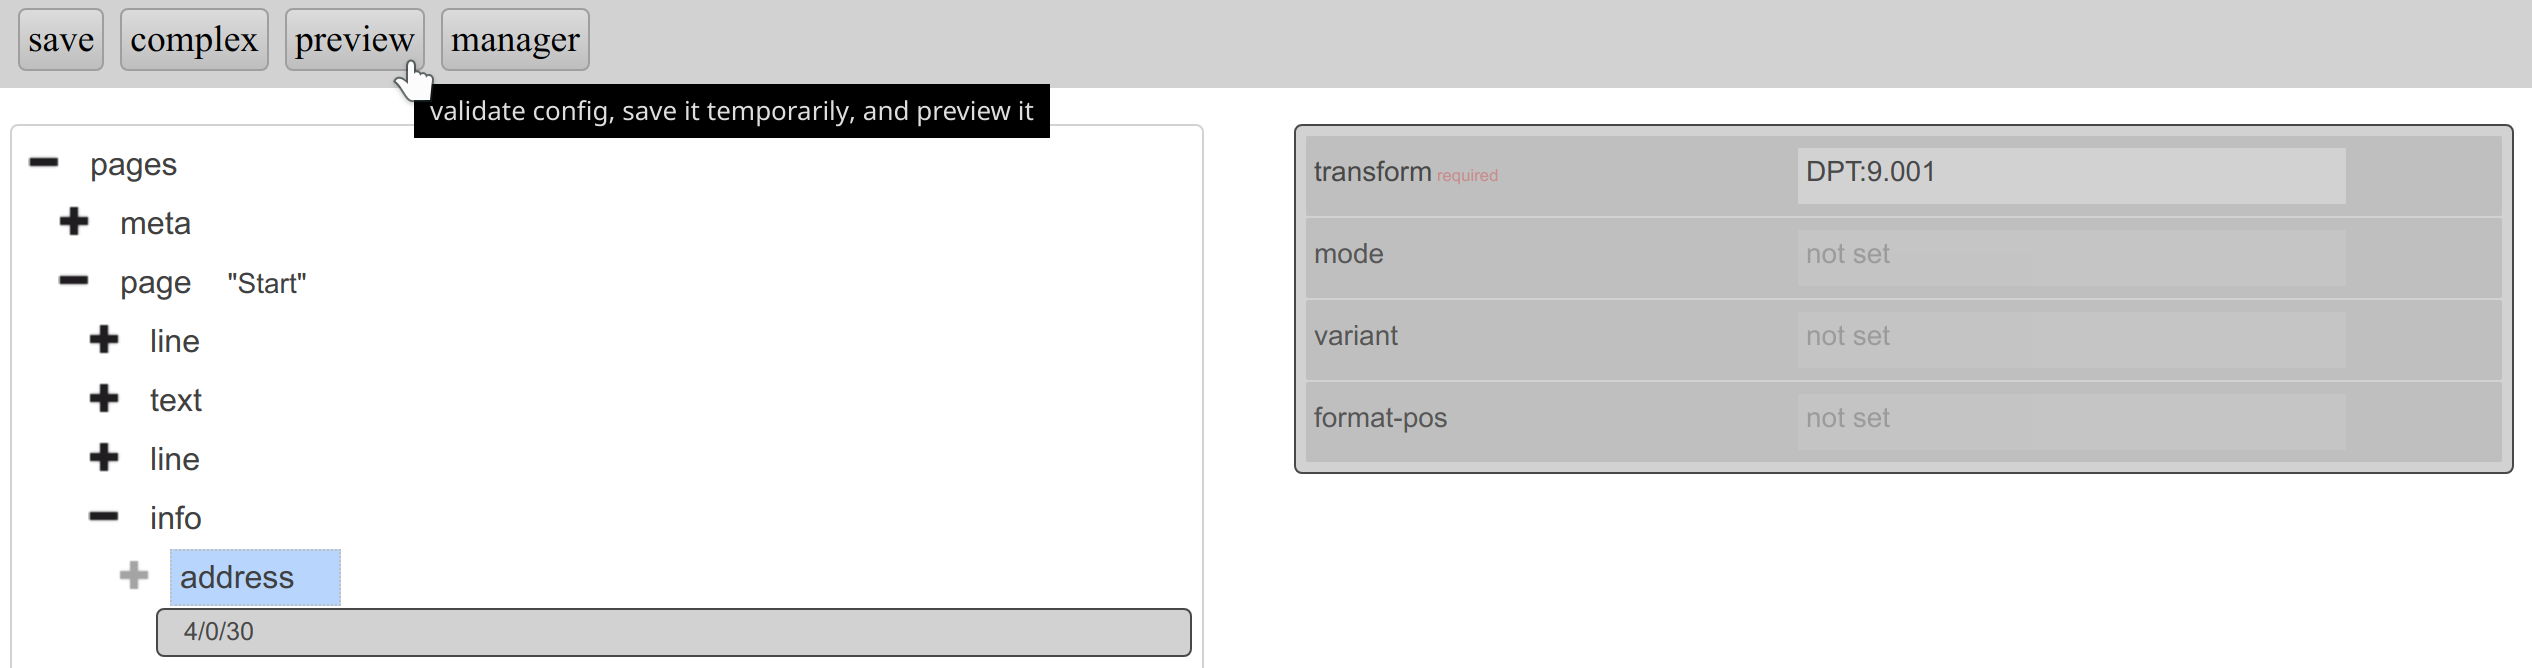
At transform the data type DPT:9.001 has to be inserted:
With “preview” the current state of the config can be shown and tested:
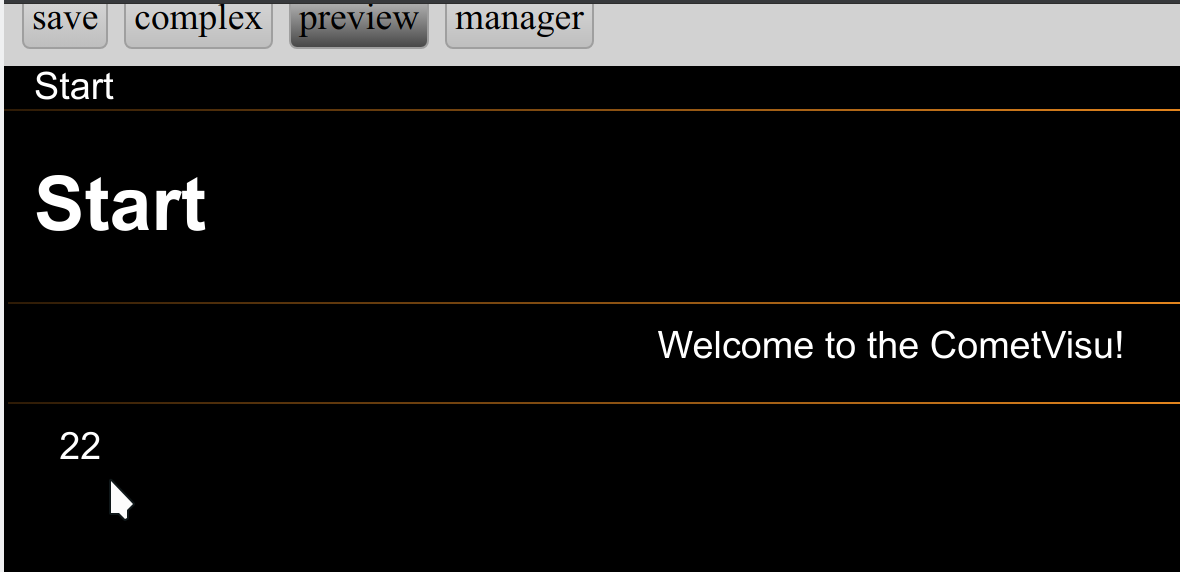
As shown in the video the first visu was created within 23 seconds, although it’s still very basic.
Whey your installation matches the tutorial addresses (or you exchanged the GA as it was recommended early on) you should be able to see the temperature:
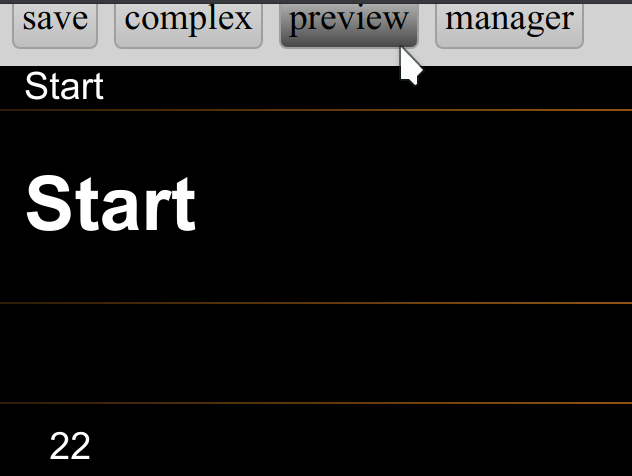
Clicking again on “preview” you’ll come back to the editor:
Refinement
To come from a simple number to a usable visualisation it should be extended a bit. As a first step the shown number will be enhanced to display one digit after the decimal point as well as the unit “°C”.
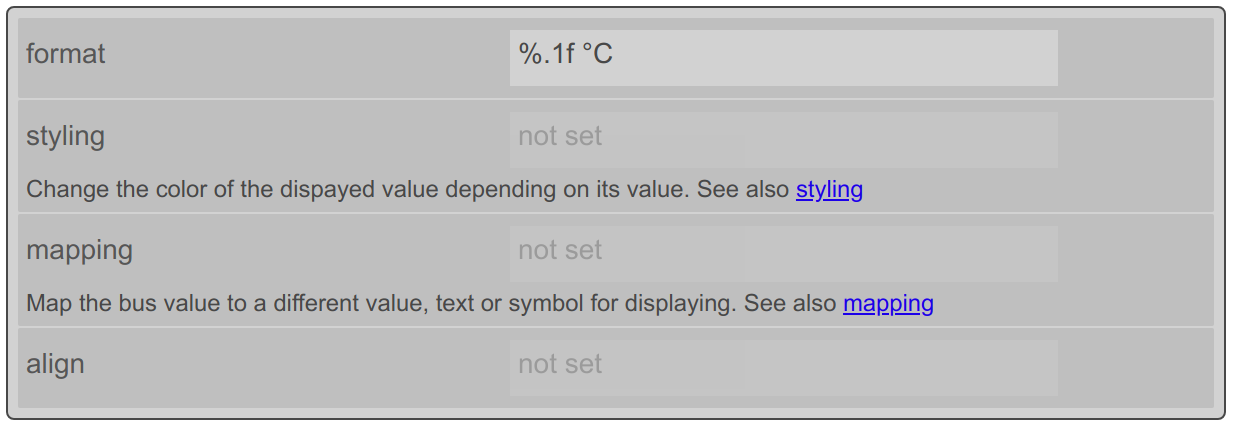
After a left click at info…
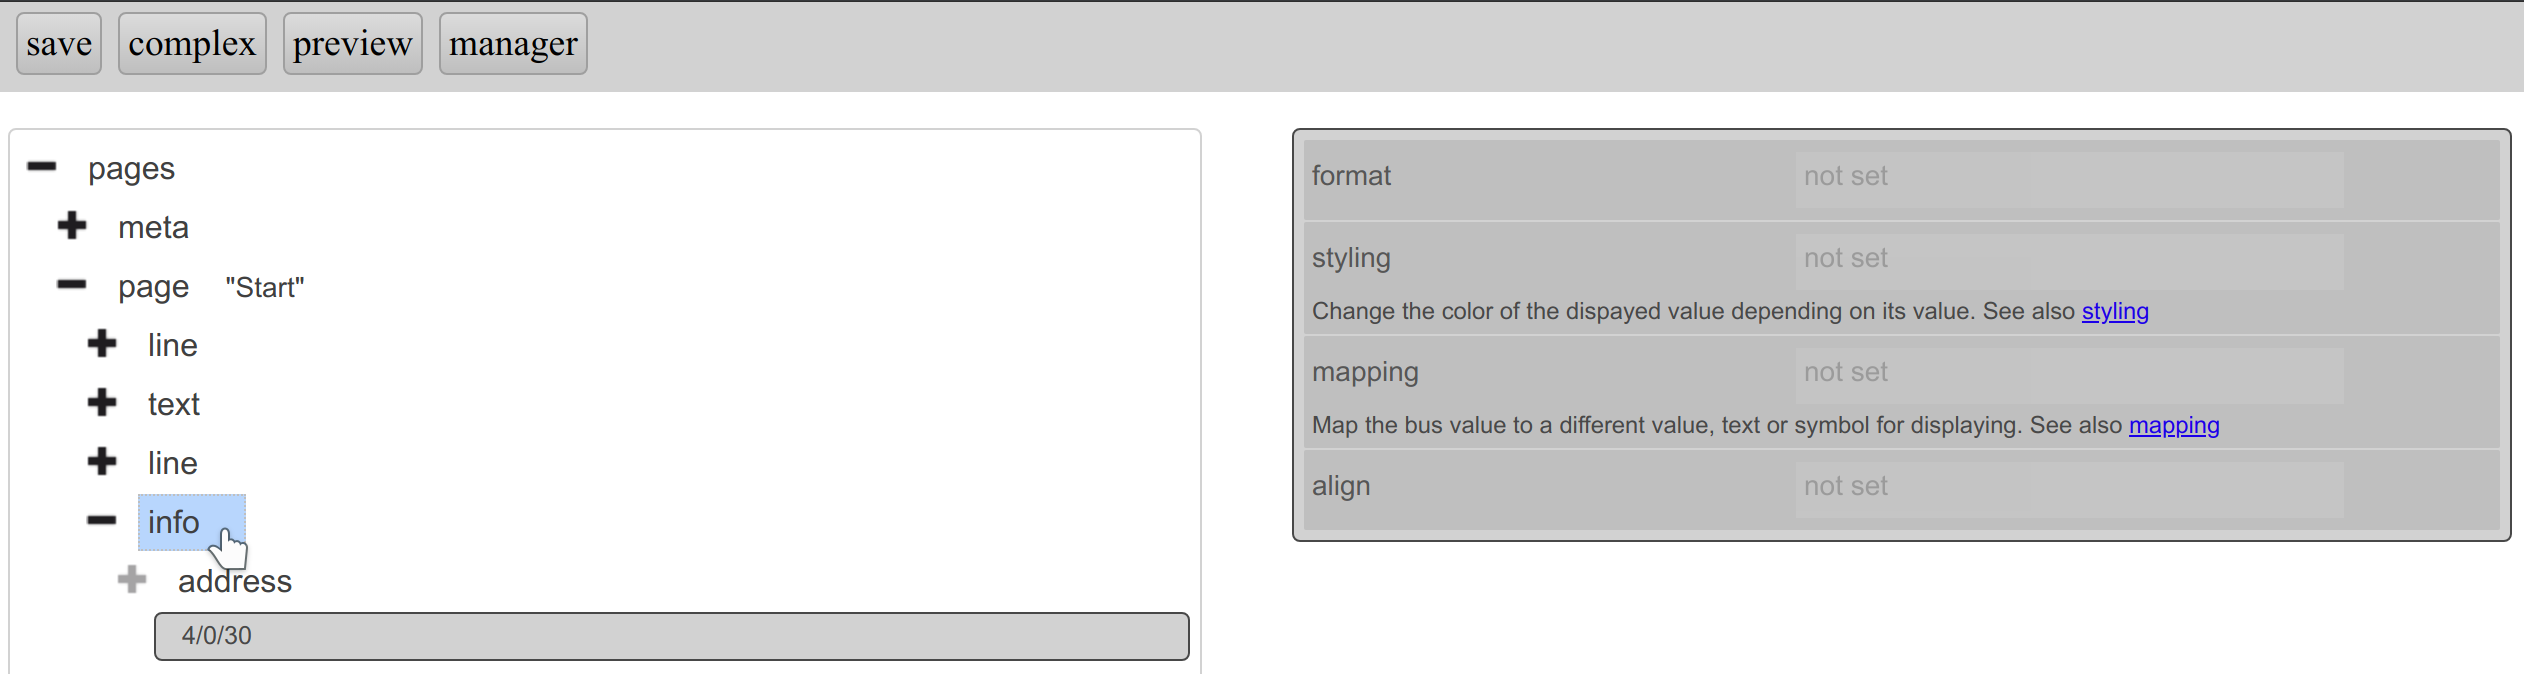
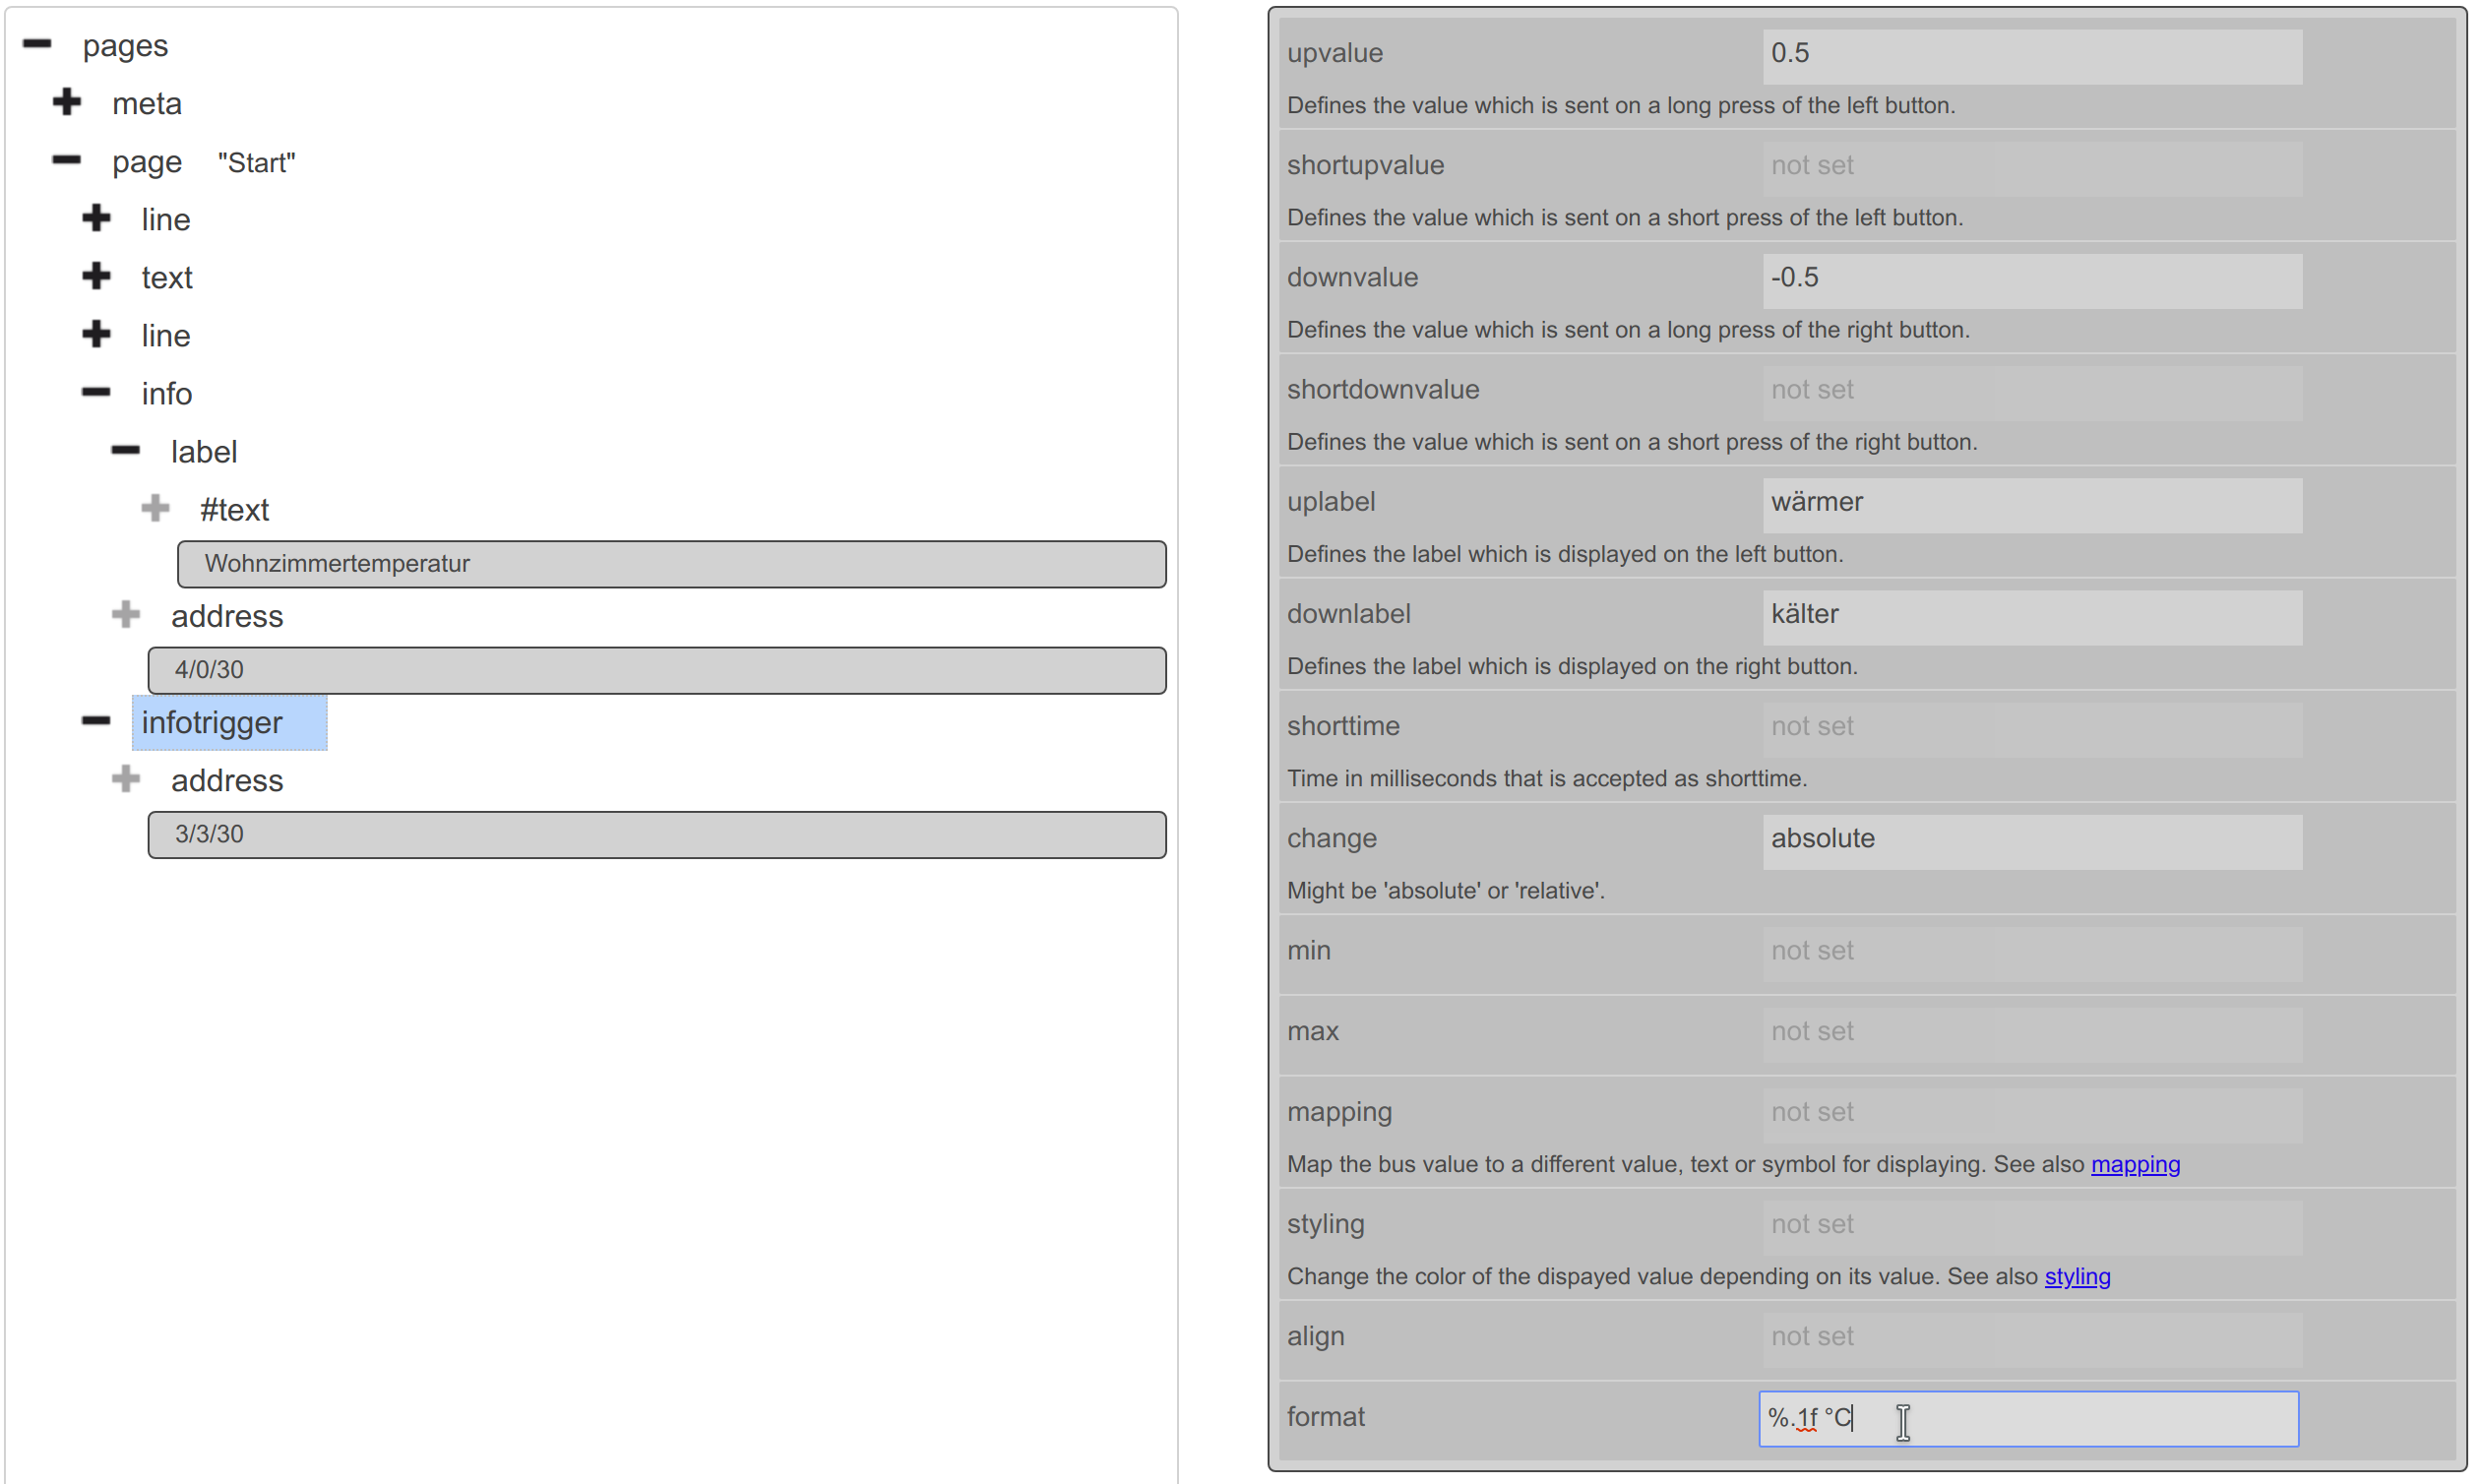
… the attribute format…
… has to be filled with the value %.1f °C:
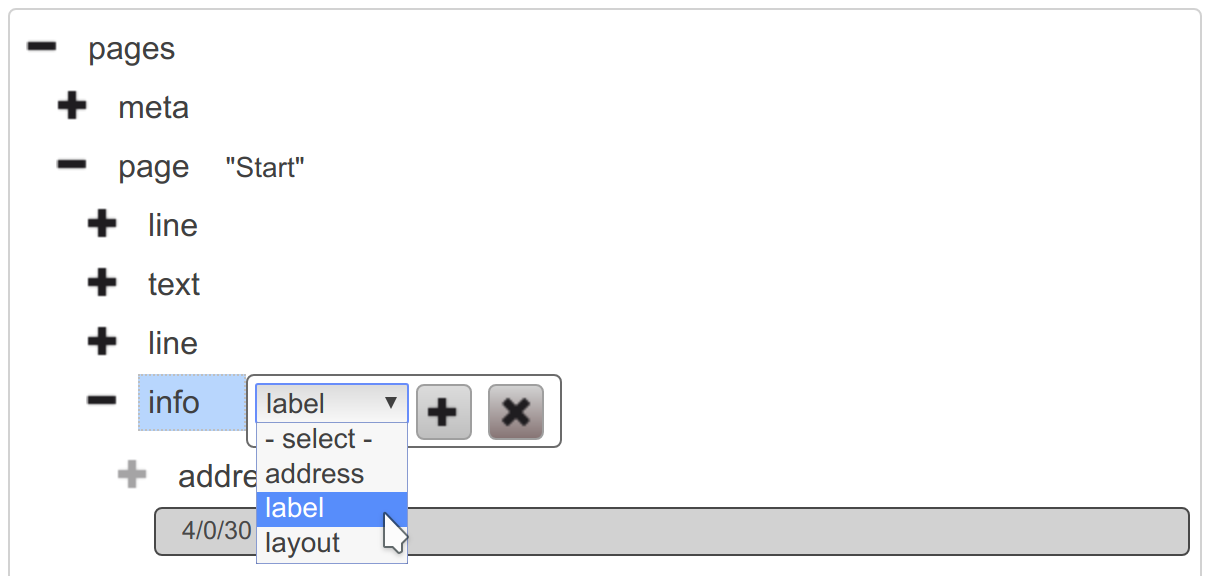
For displaying a description a label has to be added.
Right click at info and left clicking at add child…

… allows to add the label element:
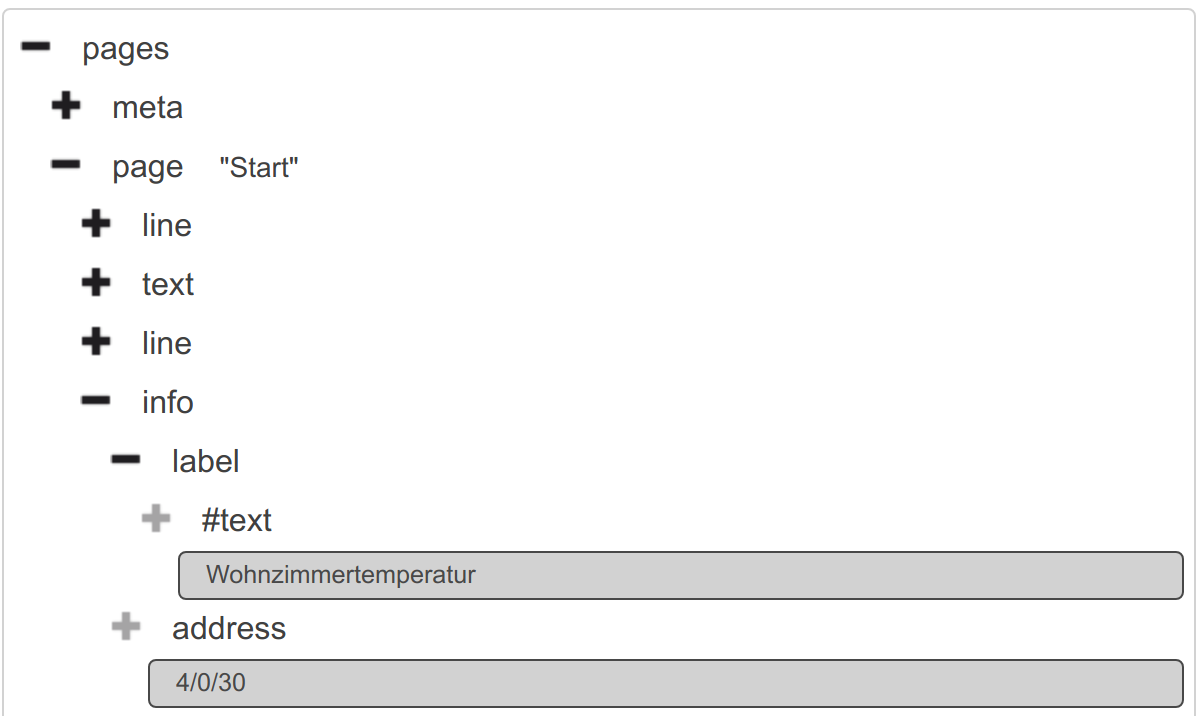
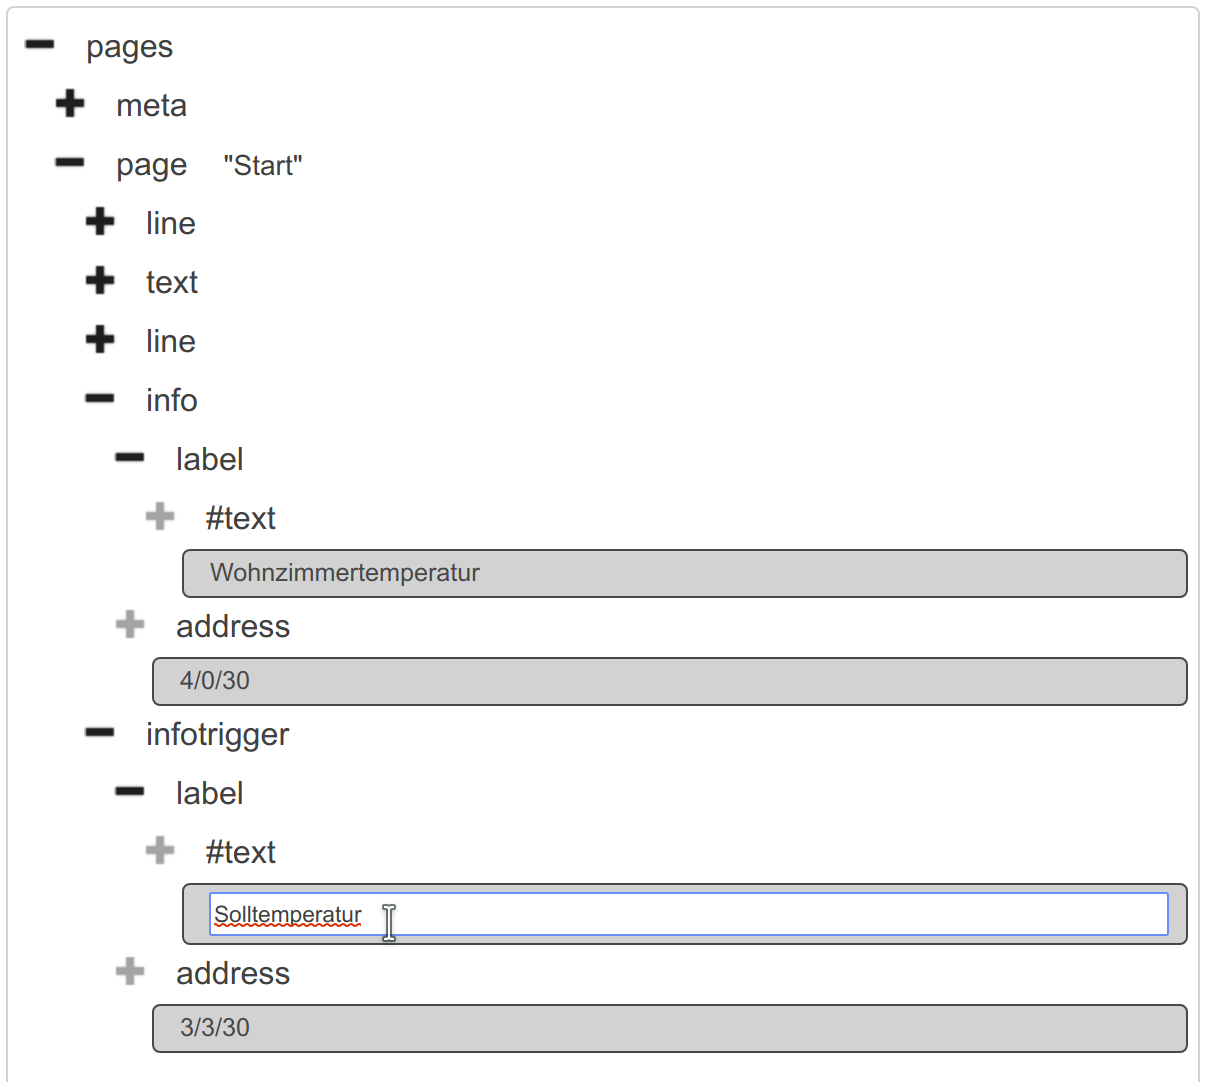
In the element tree a #text element is required below the label:
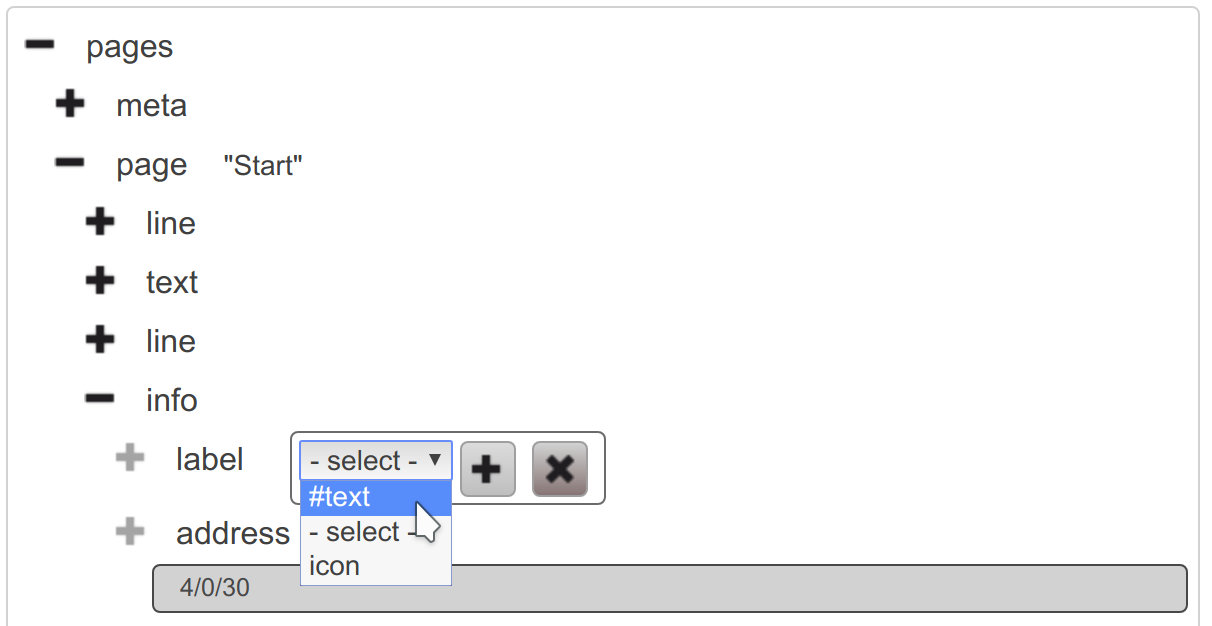
This has to be filled with the label for the info widget, in this tutorial with “Wohnzimmertemperatur”, the German word for “living room temperature”:
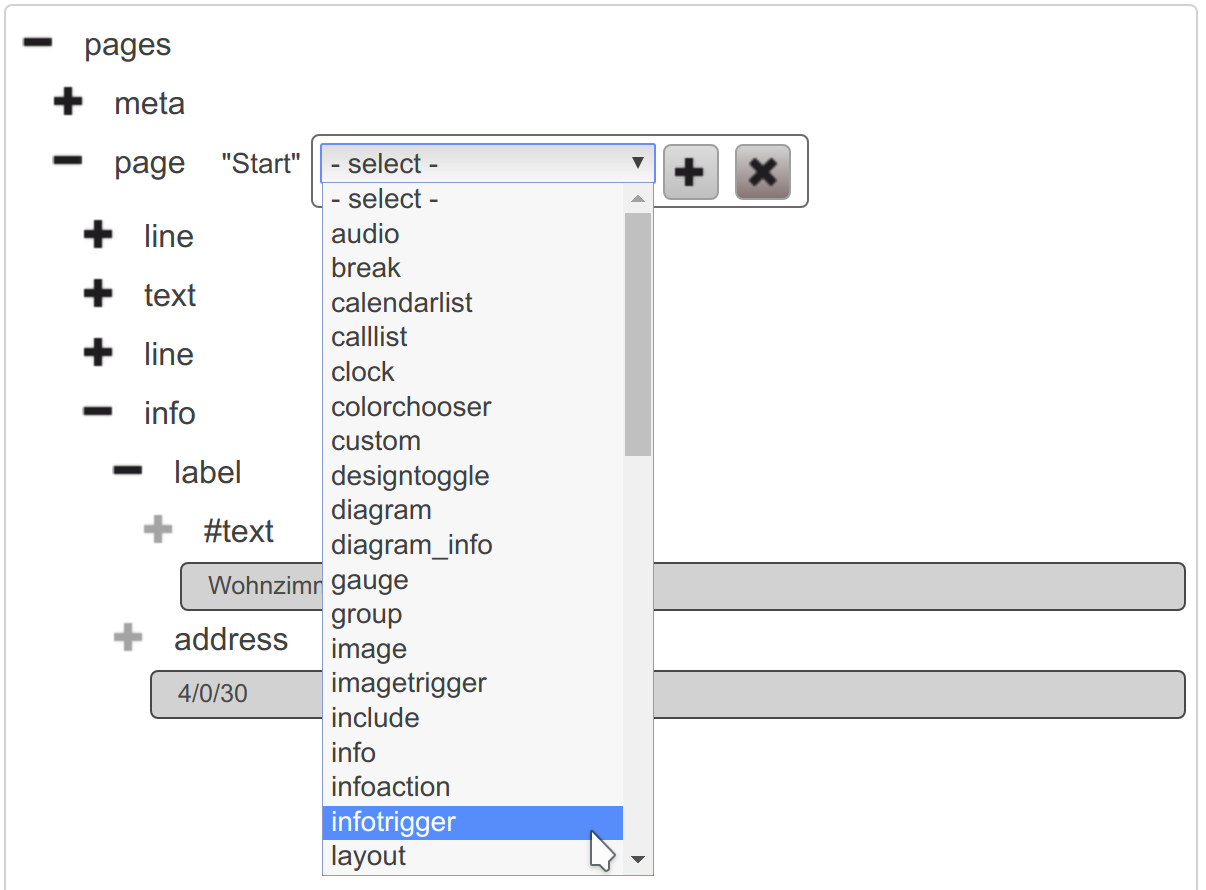
To be able to adjust the target temperature an
infotrigger widget has to be added to the page "Start":
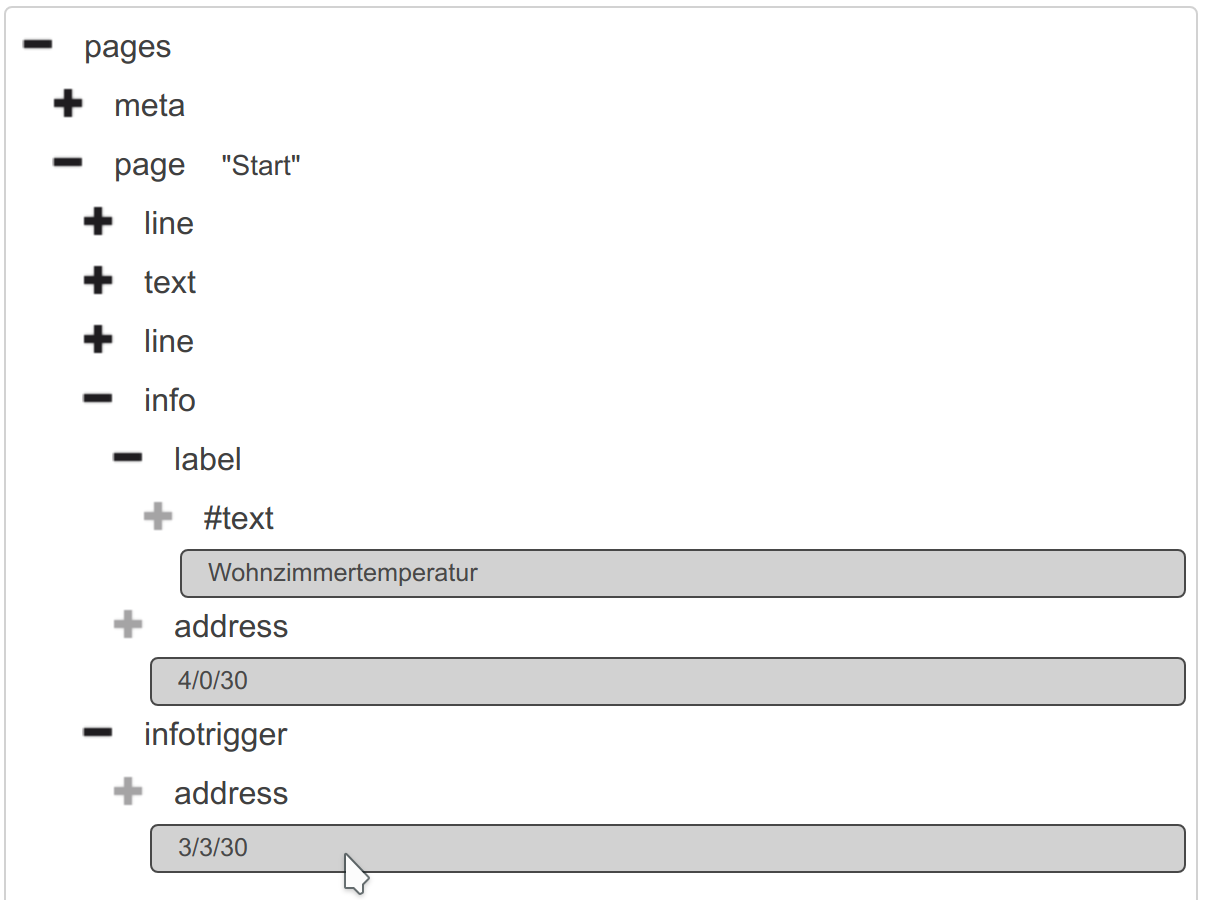
This must be linked to the address, in this tutorial the 3/3/30:
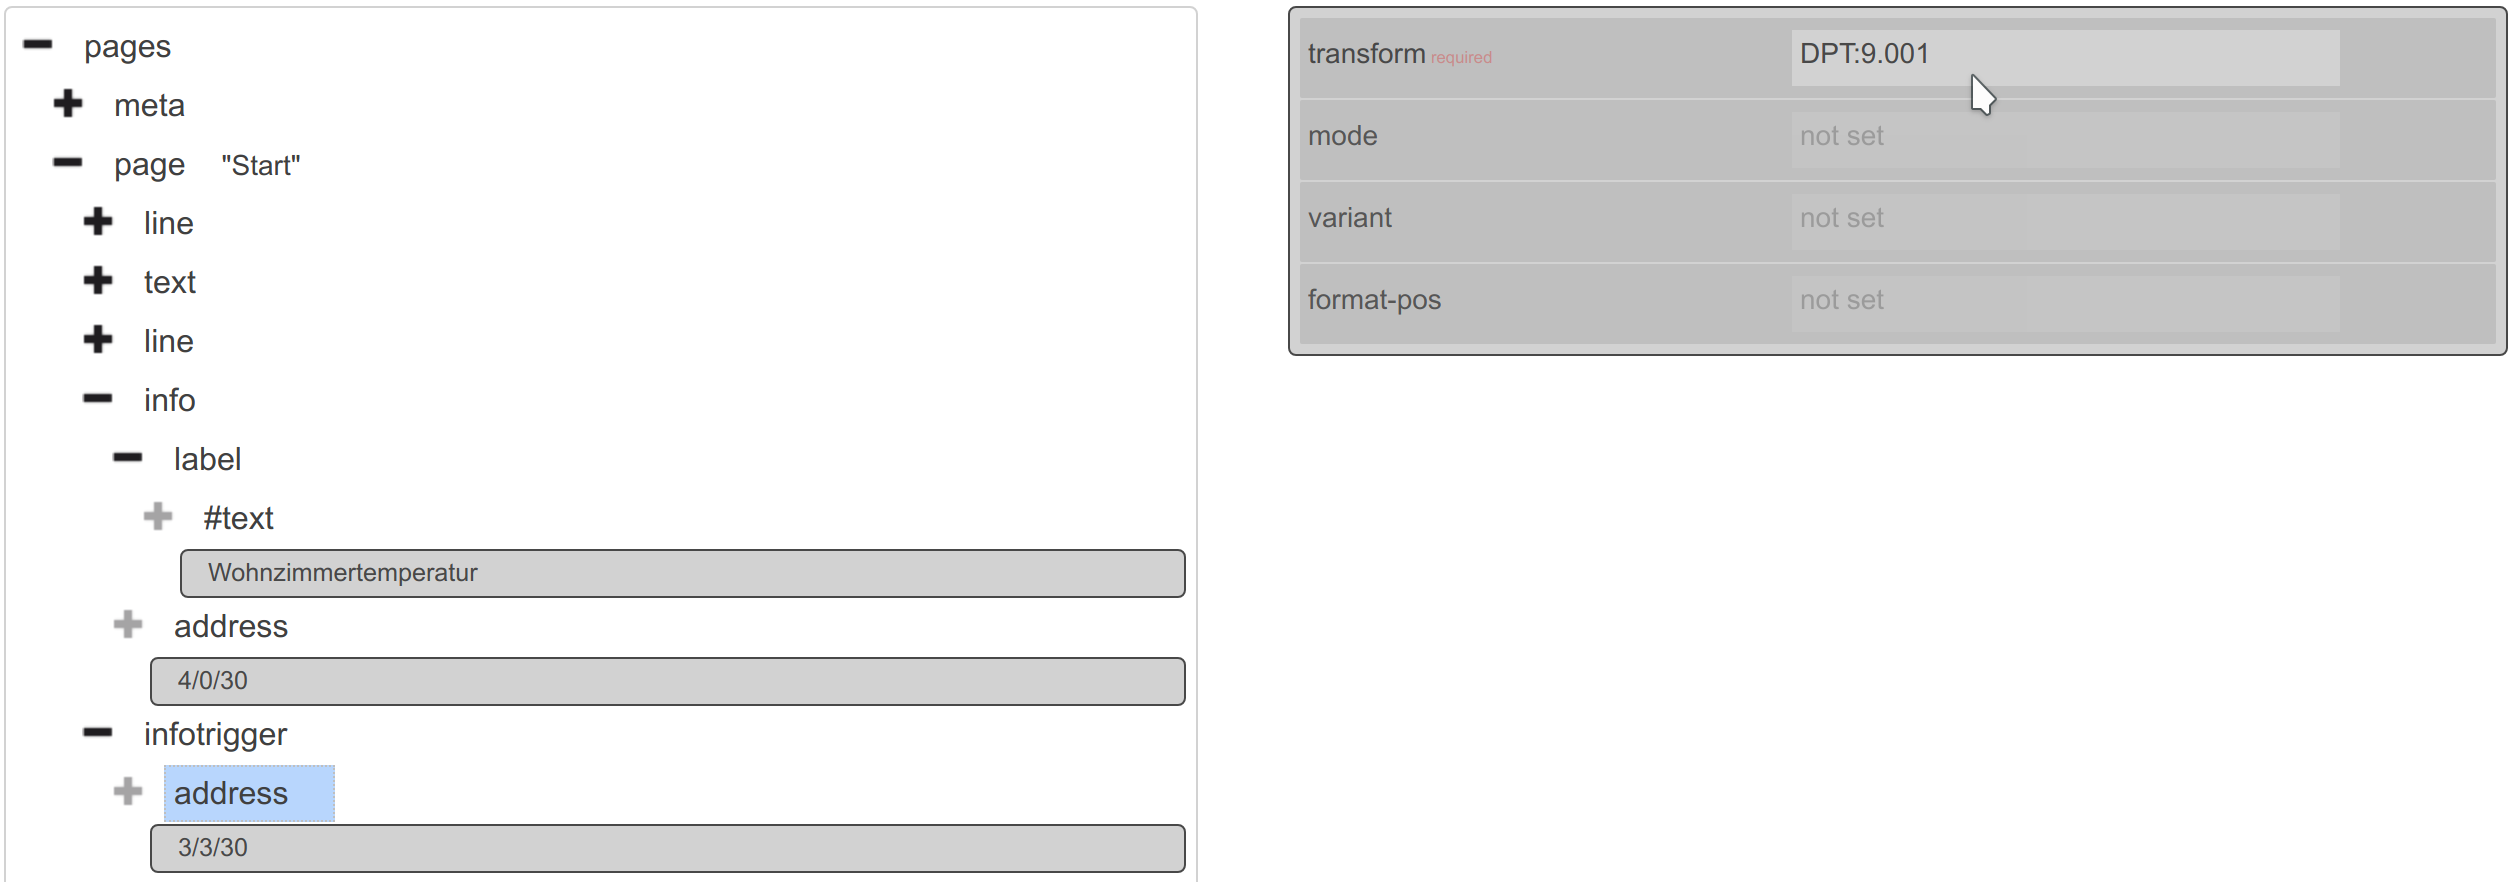
The data type for the transform attribute is again DPT:9.001:
The attributes of the infotrigger itself must be filled with:
Attribute |
Value |
Meaning |
|---|---|---|
|
|
temperature change for up or rather “wärmer” |
|
|
temperature change for down or rather “kälter” |
|
|
button label for up (“warmer”) |
|
|
button label for down (“colder”) |
|
|
direct (“absolute”) change of the value |
|
|
one decimal digit with attached “ °C” |
Finally adding the label to the widget:
By save…
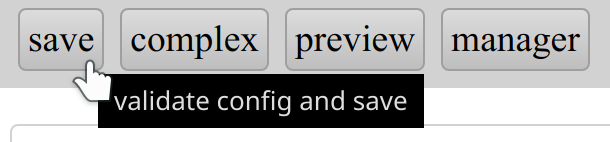
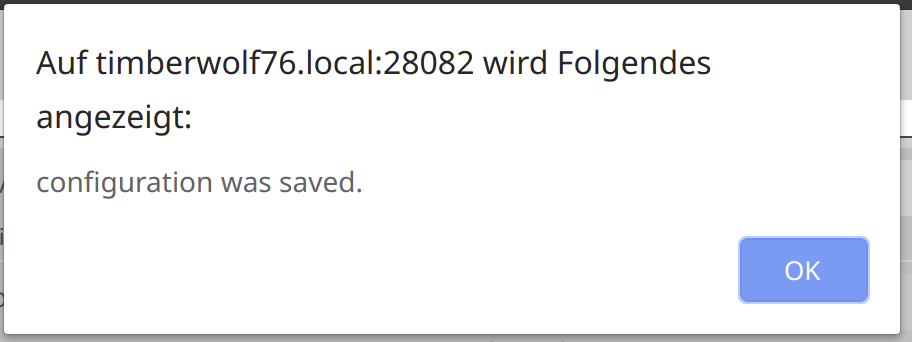
… the configuration will be saved:
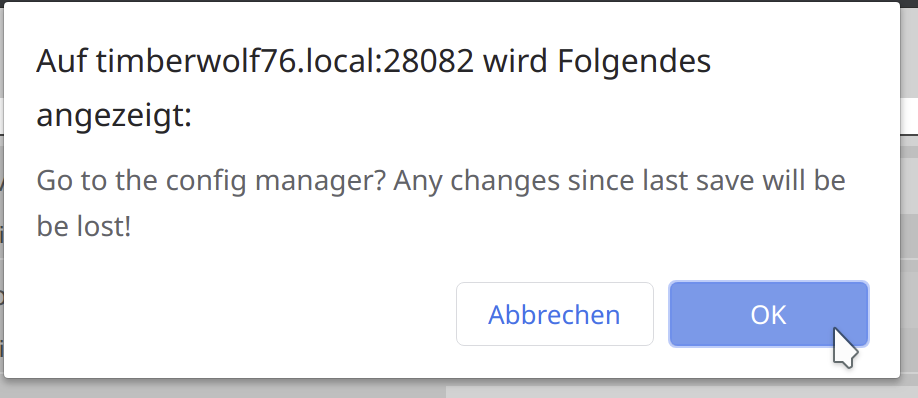
Back to the manager…

… a warning is shown that the last changes will get lost. This isn’t relevant in our case as all changes were saved by us immediately before:
At the manager does “Öffnen”…
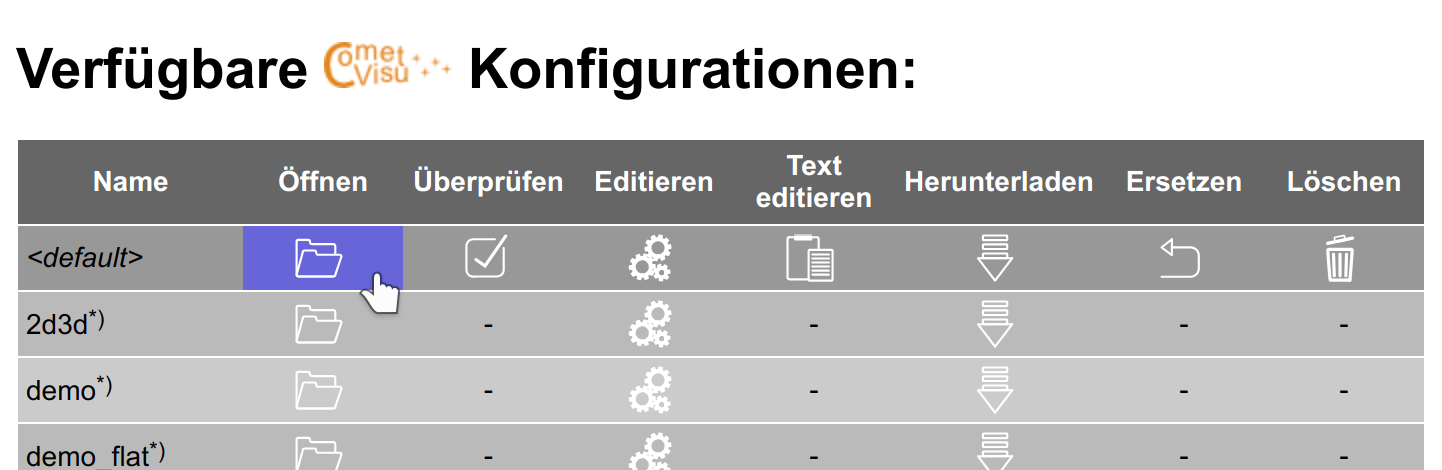
… open the final visualisation in the browser:
